FAQ – Frequently Asked Questions
Clamping Tools
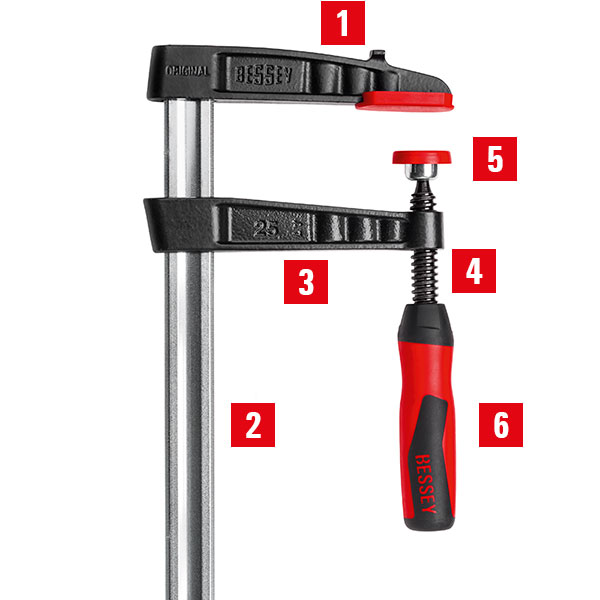
Malleable cast iron screw clamp
1 Upper section
2 Profile rails
3 Lower section
4 Spindle with trapezoidal thread
5 Pressure plate
6 Handle
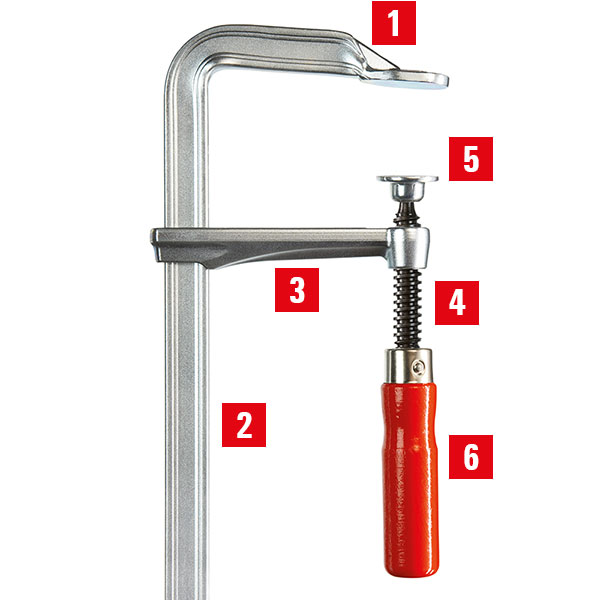
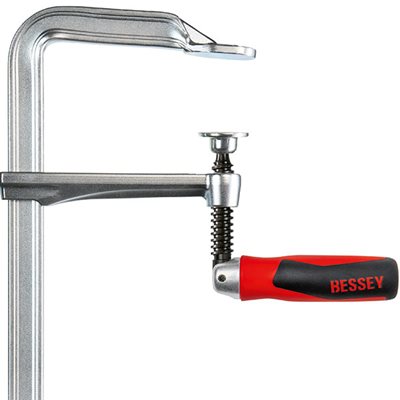
All-steel screw clamp
1 Fixed arm
2 Profile rails
3 Sliding arm
4 Spindle with trapezoidal thread
5 Pressure plate
6 Handle
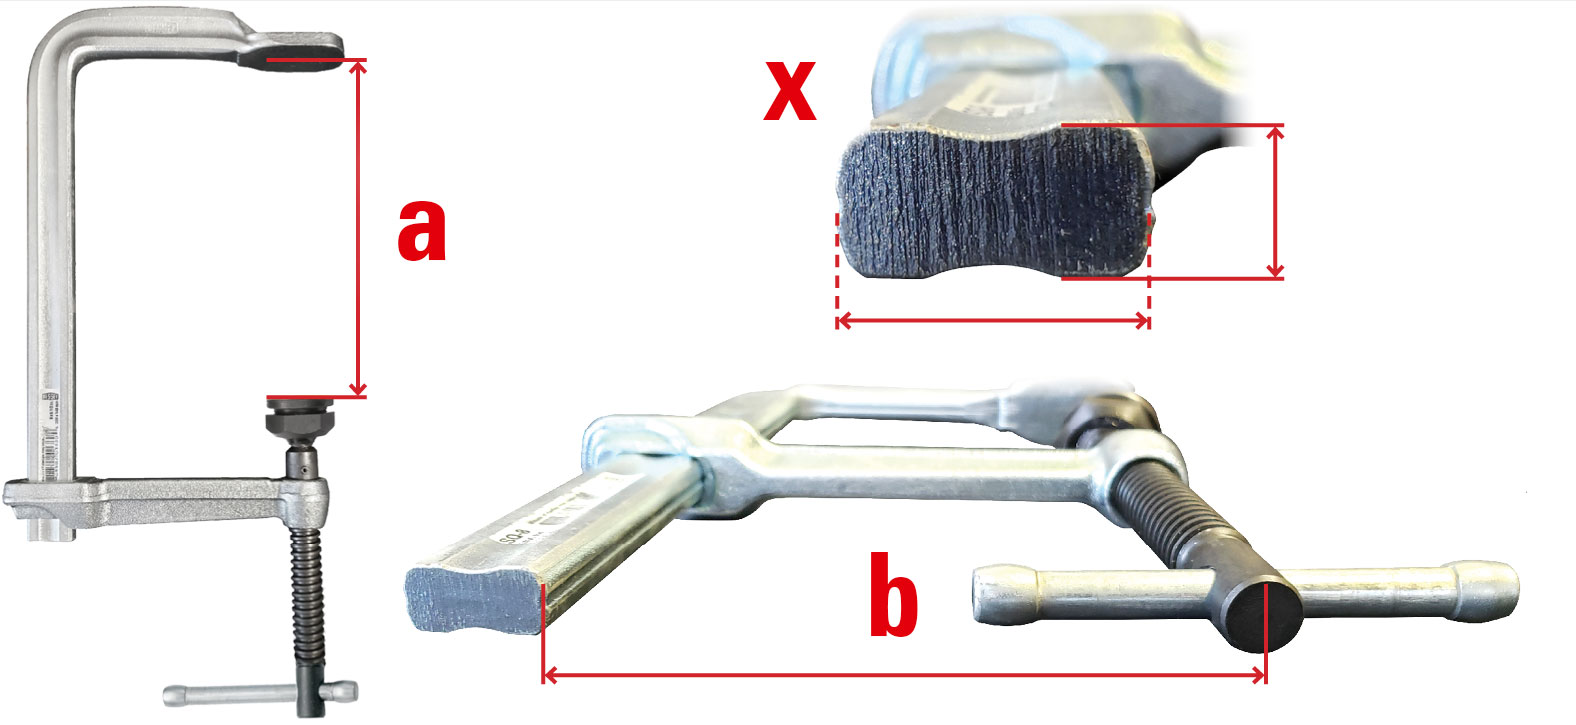
a opening
This is the measurement from the lower edge of the upper pressure plate to the upper edge of the lower pressure plate. The clamping width is the maximum workpiece length that can be clamped.
b throat depth
It is measured from the inside of the rail to the centre of the spindle.
x Rail cross-section
The width and thickness of the rail is measured. The larger the rail cross-section, the greater the possible clamping force.
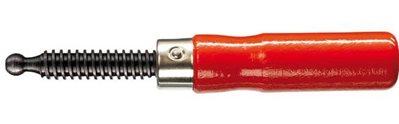
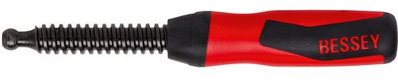
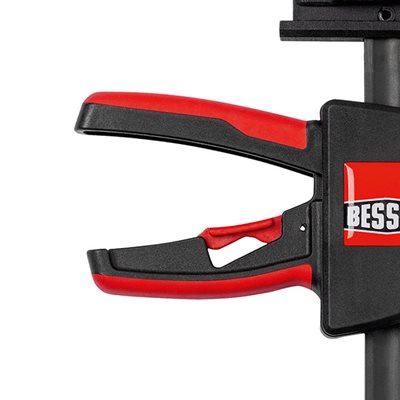
The wooden handle
The wooden handle is the classic handle type. BESSEY wooden handles are also something special: They are ergonomically shaped and riveted without burrs, so the user is protected from injury. Our wooden handles are made from FSC-certified wood. Furthermore, we do not use solvent-based varnishes for our wooden handles: The varnish for BESSEY wooden handles is water-based per DIN EN71/3.
The plastic handle
The modern two-component handle specially developed for clamps is made of high-quality plastic and fits perfectly in the hand. Due to its symmetrical shape, the hand always grips the right place, whether from above or below. The two plastic components (hard/soft material) are modelled on the rotational movement during clamping. This guarantees optimum grip and comfortable handling.
The swivel handle
The swivel handle offers all the advantages of the 2-component plastic handle. It can also be folded 90° and rotated 360° without bumping up against the rail, for quick and convenient work – even in areas that are difficult to reach. Here, the swivel handle achieves an additional leverage effect when tightening.
The toggle handle
With its rounded ends, the toggle handle ensures good force transmission thanks to the additional leverage – even in confined spaces. Clamping tools with a toggle handle are often used in the metalworking industry: The toggle handle is insensitive to welding spatter and can be clamped and released expediently even with oily or smeared gloves. For the user, the toggle handle also offers comfort, as the toggle ends are rounded to fit the hand.
The lever handle
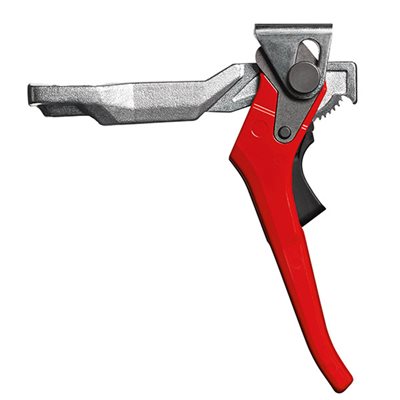
Lever-action clamps take a completely different approach to grip technology and the associated build-up of clamping force. The clamp uses the natural power of the lever. Instead of a thread, it has a locking mechanism with a toothed segment, similar to a ratchet. High clamping forces can be achieved rapidly and with little effort. A release mechanism integrated into the handle also allows the clamp to be removed quickly. Lever clamps are easy to use and allow clamping five times faster than with conventional spindle clamps.
Clamps with a lever handle are often used when many clamps have to be set and released again in a short period of time. The multi-stage ratchet mechanism ensures rapid, controlled, almost 100% vibration-free clamping. The cam on the original BESSEY GH lever clamps is made of sintered steel and is therefore particularly wear-resistant.
The pump handle
A high quality 2-part plastic grip with pump lever behind the rail ensures secure access from both directions. The pushing movement caused by the pumping action allows the clamp to be fixed quickly, while the release mechanism integrated in the handle allows the clamp to be released quickly. In addition, the pump handle can be operated with one hand – leaving one hand free for other tools.
You can find the instructions in PDF form for the two versions of pressure plates here:
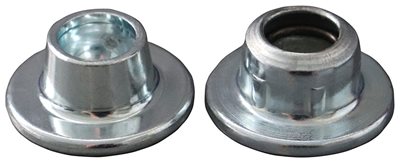
1. Flanged permanently mounted pressure plates are smooth (see fig. left)
2. Interchangeable pressure plates have rib-like ridges all around the cylindrical edge (see fig. right)
You can find overview tables here in PDF form showing the most important differentiating features:
Malleable cast iron screw clamps (PDF Download)First line – Original BESSEY malleable cast iron screw clamps: TG-2K | TG | TG-K
Second line from BESSEY: TPN-2K | TPN
Third line from BESSEY: TGRC
Heavy duty malleable cast iron screw clamps (PDF Download)
First line – Original BESSEY heavy duty malleable cast iron screw clamps: TGK-2K | TGK | TGK-K
Second line from BESSEY: TKPN
Drittlinie von BESSEY: TGKR
All-steel screw clamps (PDF Download)
First line– Original BESSEY all-steel screw clamps: GZ-2K | GZ | GZ-K | GZ-KG
Second line BESSEY classiX: GS | GS-K
Lever clamps (PDF Download)
First line – Original BESSEY lever clamps: GH
Second line BESSEY classiX: GSH
High-performance clamps (PDF Download)
First line – Original BESSEY high-performance clamps: SLM | SGM
Second line BESSEY classiX: GSL | GSM
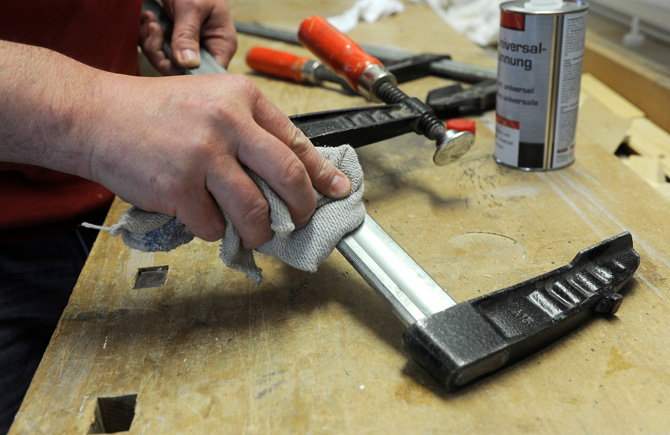
To maintain the good quality of a screw clamp in the long-term, proper care is essential.
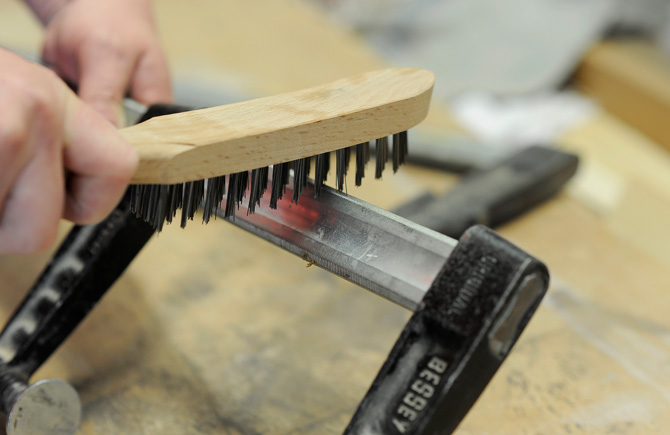
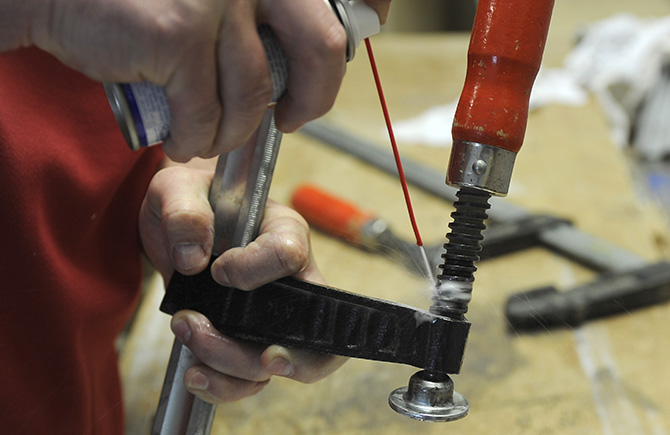
The function of a screw clamp is based on the friction and tilting between rail and sliding arm. It is important, therefore, that the rail is always kept free of grease, oil or dried glue. Particularly critical on the rail are waxes and release agents containing silicone. Such residues must be removed as quickly as possible using solvents, wire brushes or sandpaper. Both the spindle and the pressure plate joint should be lubricated regularly with a little oil. Spray oil is especially suitable for this purpose. In this way, the smooth running of the screw clamp is maintained for a long time with optimum clamping force.
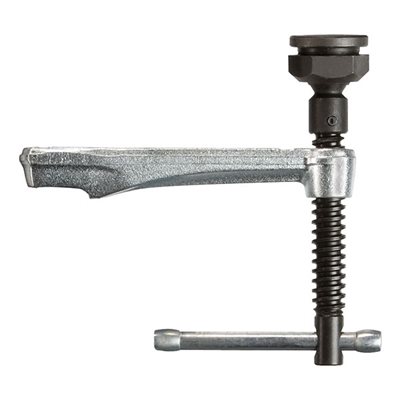
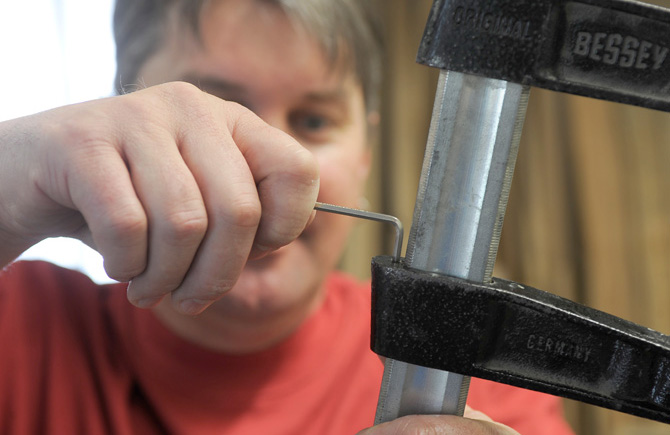
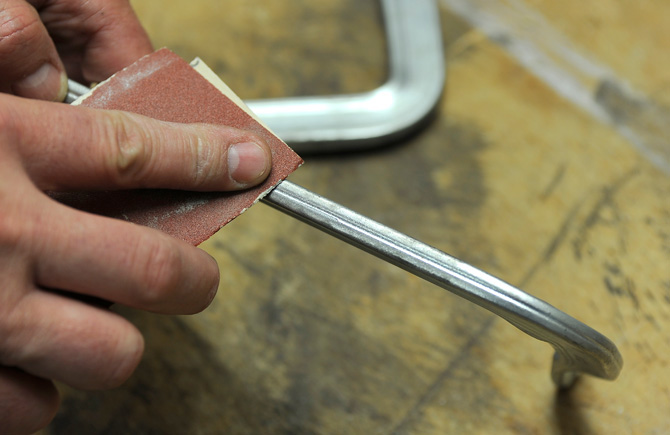
If there is a grub screw on a malleable cast iron screw clamp, which prevents the sliding arm from slipping through, it can be readjusted by a quarter turn when the support starts to diminish. With all-steel screw clamps, attention should be paid to any shine forming on the rail, as this can lead to slipping of the sliding arm. If shiny spots are visible, they can be roughened on both sides with emery cloth in grain size 100 to ensure safe working again.
|
|
|
|
|
|
|
|
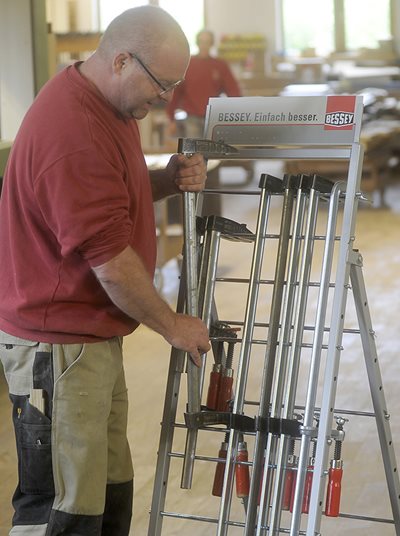
Different throat depths and clamping widths of the screw clamps can cause problems during storage.
A practical solution for this is a clamp trolley. Because this sturdy metal construction with rollers can hold the clamps sorted by size. In addition, a mobile clamp trolley enables more flexible and faster working, as all clamps are always at hand and clearly sorted directly at the point of use.
A further storage option is a stationary shelving unit where the clamps are simply pushed onto it.
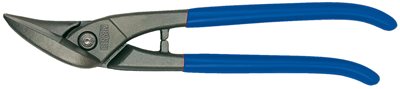
Cutting Tools
In standard tin snips, edges and handle are traditionally forged into one unit. The force required for cutting is determined by the ratio of edge length to the handle length.
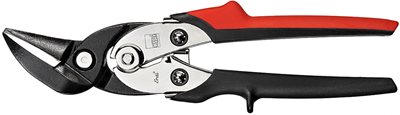
Compound leverage snips comprise a cutter head and a handle. The compound action produces additional leverage.
Shape and straight cutting snips
Shape and straight cutting snips are real "all-rounders". They can cut through a metal sheet (straight-cut) as well as cut large and small contours or radii (outlinecut). In this case, it does not matter whether you are cutting at the edge (edge cut) or at the centre of a sheet. You can naturally use shape and straight cutting snips for notching-operations.
Shape cutting snips
Shape cutting snips are best suited when you want fine and narrow radius cuts near the edges of a metal sheet. You can use the delicately shaped edge of these snips to cut extremely narrow shapes or curves without any problem.
Straight cutting snips
Do you wish to cut a metal sheet at the centre and / or near the edges? Then the perfect tool for you is the straight cutting snips. You can use long edges of this tool to cross-cut and notch large metal sheets quickly and precisely with less effort.
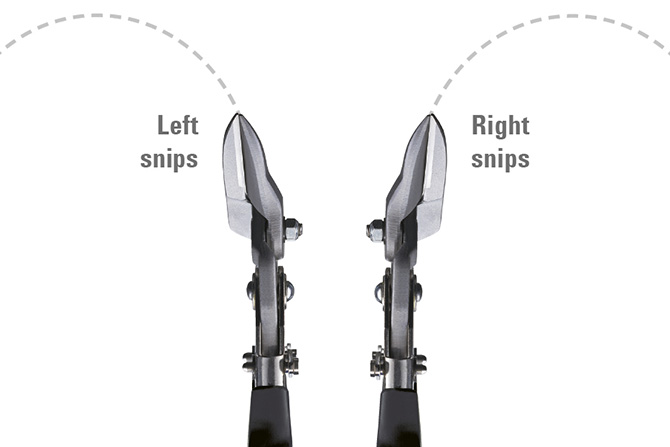
Right cutting snips are sharpened and designed so that they can cut right radii (i. e. a curve from left to right) easily. Left cutting snips are the best for radius cuts from right to left.
The common perception is that, right cutting snips are for right-handers, and left cutting snips for left-handers. This is not true. In fact, it is the other way round. If you, a right-hander, are cutting a radius (see above, from left to right), using right cutting snips, you have to cut outwards from your wrist. With left cutting snips, (radius is then from right to left) you can cut inwards from your wrist. This is considerably more ergonomic. Try it out once!
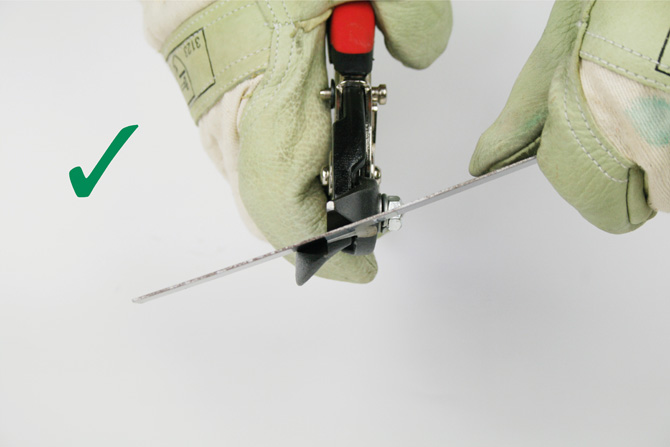
Not only the quality of the snips influences the result. The correct handling of the tool also matters:
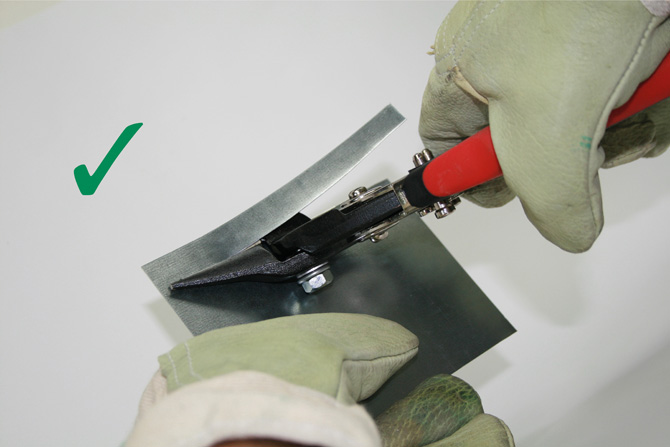
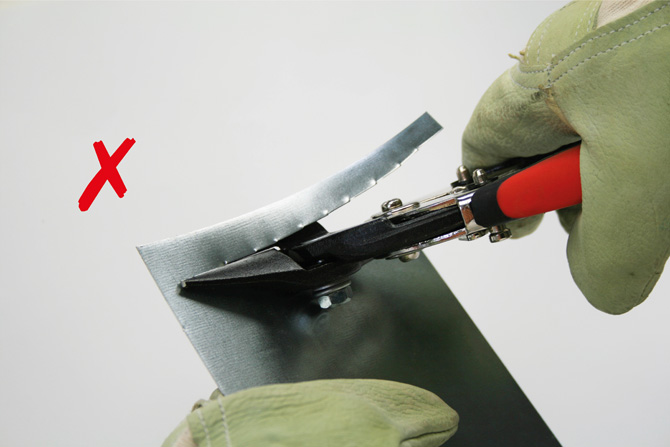
The metal sheet must be laid flat on the level jaw surface of the snips. Only in this way an optimum cutting pattern can be achieved by virtue of the cutting radii. It will warp if it is not flat on the jaw. Greater effort and shorter product life expectancy are the consequence of incorrect use.
For cutting, the snip jaws should be opened wide and the sheet metal pushed as far as possible into the jaws of the snips. The snips should not be completely closed when cutting: After about ¾ of the cutting length, open and close the snips again. Only in this way can a burr-free cut be made. If the snips are completely closed, small transverse tears occur with each cut at the end of the cut.
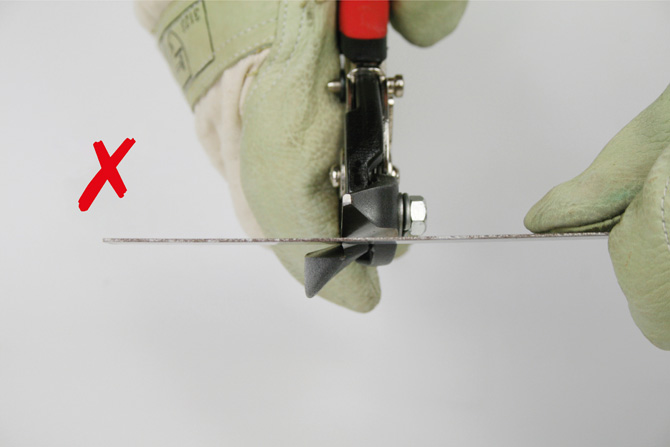
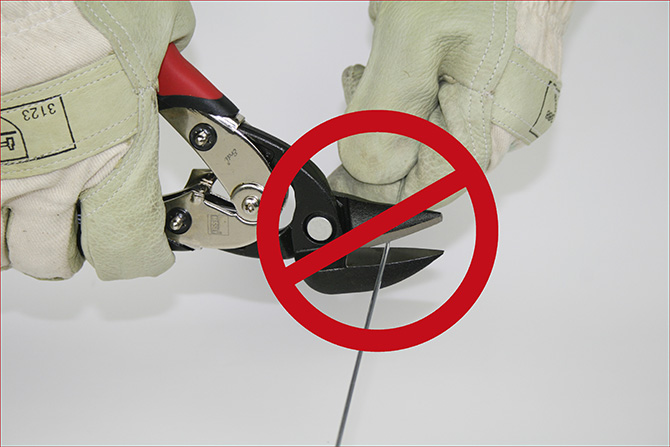
It is also important that hand tin snips are only used for cutting thin sheet metals made from soft metals and steel. They are not suitable for separating round and rectangular metal shapes such as wire. This would lead to blade breakage.
|
|
|
|
|
|
|
|
If the manual force is not sufficient for cutting the sheet metal, there could be two reasons for this. Either the blades are just dull, or the metal sheet may be too thick. When using hand tin snips, it is important to note that one should only cut sheet metals up to a thickness of 1.2 to 1.9 mm. This will vary depending on the type of sheet metal, however, as well as the quality of steel.

